Showing posts with label Fight Night. Show all posts

Friday, 21 November 2014

Wednesday War - Battlegroup Overlord & Dead Man's Hand

Battlegroup Overlord (BGO)


This week’s game saw Si and Frazer return to Battlegroup Overlord.  We decided to drop the points from 600 to 400 in an effort to complete a game in an evening.  We also used a single D6 for orders.  This produced some tactical challenges and produced a quick turn for each player most of the time.  We haven’t played with a single D6 for orders since the first 3-4 games and having played a lot more games it is now far less of an obstacle than it first appeared to be.
 
Frazer’s list
 
Fallschirmjäger Battlegroup
 
Forward HQ
Infantry Platoon + Pak38 + 2 Panzerfausts
2 x 80mm Mortars – off table
Sniper
 
Simon’s list
 
British Armoured Division
 
Forward HQ
Infantry Platoon inc light mortar + 6 Pounder + Vickers HMG + 3” mortar + PIAT
Tank Troop 2 x Sherman, 1 x Firefly
Off table artillery request (2+)
Sniper
 
We used the Carentan layout from the BGO book but had the Germans holding the three buildings in the centre and the road junction with a platoon and the British started with a platoon on the Western table edge; all other units in reserve.  Snipers were deployed

 First and Second squads hold the village
 Third squad hold the road


The British advanced through the wood line and wait for their armour to arrive before attempting an assault on the village

 Holding both the village and the main road, the Fallschirmjäger bring up an AT gun (used as a Pak38)


As the Germans pull their other AT gun forward 25 Pounder barrage lands pinning the platoon HQ and the sniper.  The MG team at the corner of the wall were targeted by the British 6 pounder, the Vickers HMG and mortar fire.  The never lost a man and the two occasions they failed their save they passed their morale check with a successful beyond the call of duty test and brassed up the advancing infantry

 The Platoon HQ and Sniper are pinned down

 When your number is up it’s up.  The Pak38 may lack some punch at this point in the war but double 6 is double 6 and the lead Sherman brews up.  Moments later the Sherman on the road meets the same fate.  The tankers had pushed their luck as the firefly had been pinned twice as

The chit pulled for the loss of the armour and the attempt to call in the aircraft.  The British had two attempts for aircraft and were unlucky to miss both chances. 

It wasn’t to be a day of days for the British as a wildly deviating ranging shot lands in the British forming up point pinning a section, the Forward HQ and the light mortar team.

As the evening drew to a close the British still had a lot of open ground to cover and the BR was 18 from 29 whilst the Germans were 10 from 34.

Dead Man's Hand

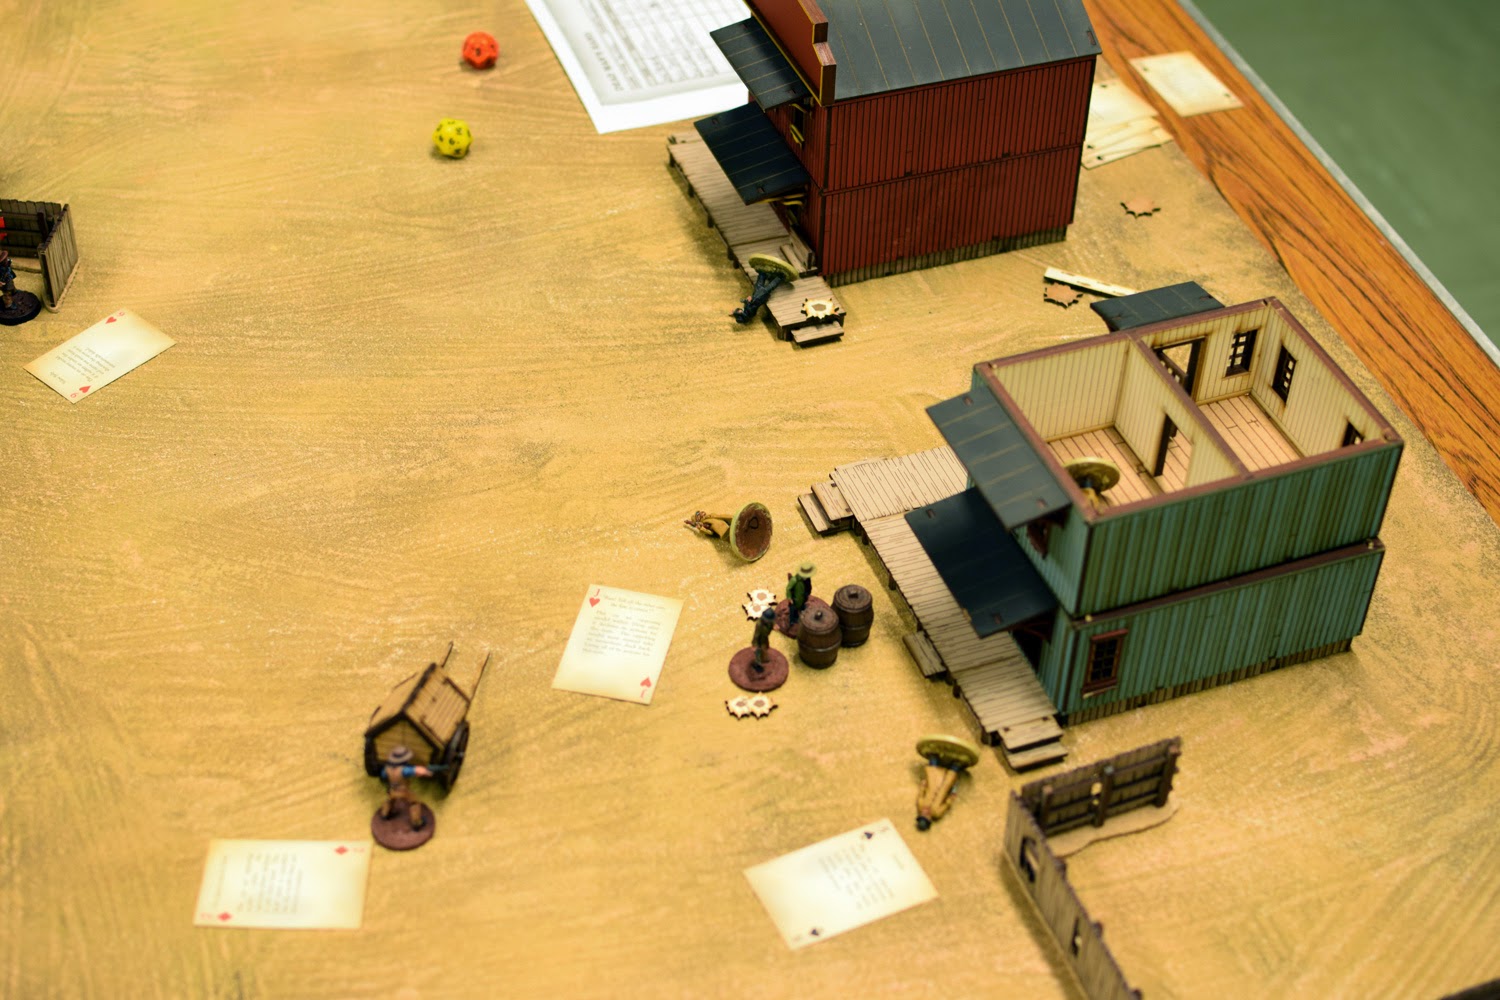
Chris and NDM are heading in to Scout Hut and for Wild West entertainment of Dead Man's Hand


 The gangs are heading into town

Scene One


Chase “Quick Draw” Mcgraw, ducked back down under the window frame, wary he may be see.

A few minutes earlier he’d been rumbled, sneaking marked cards into the poker deck was always going to be risky, but being the chance of being caught is what made it exciting…. Until he actually was caught.

hase left the comfort of the Inn, intent on making a run for it, but no sooner had the saloon doors stopped swinging, did the bullets start flying.

From the cover of the outdoor latrine Wyat unleashed a hail of shots at Chase, who successfully ducked out of the way. Taking this opportunity, Chase rushed across the dusty street, burst through the latrine door and fired at point blank range…

Click, click, click…

Empty!

With one swift move, Wyat turned and bang Chase was down in the dirt.


Scene Two

Hearing about Chase’s demise, his former gang mates marched into to town to get revenge.
Finding the Wyat brothers held up in the boozer, the surrounded the hut ready to unleash pain.


Little did they know that the Wyat family knew they were coming, and as Chase’s crew got ready for the attack, Dirk and Clarence made the presence know and appeared out of the shadows, a hail of repeater shots pinging off the buildings, narrowly missing the strangers in town.

 
With the signal given, the Wyat’s burst out of the tavern, guns blazing, straight into the teeth of the shotgun of Curt, Chase’s brother!
Click, click!

Another empty weapon, another piece of bad luck!

Cursing at the inferior equipment is sibling had provided the gang, Curt ordered his gang to close up and dispatch the Wyat family as fast as possible.

Click, Click…

It wasn’t just Curt and Chase who had rubbish kit, the whole gang did, and as the realisation hit, so did the shots from the Wyat’s.

One by one Curts gang hit the dirt, blood seeping into the drainage as the Wyat’s shots found their mark. It was all over in minutes, and then the small town of Scout Hut went quiet, only broken by the clicking of glasses as the victors toasted their victory.


Saturday, 15 November 2014

Wednesday War - Dead Man's Hand - 40K

This week games played were Warhammer 40K, two pick up games, and the final game for the first round of the Dead Man's Hand Legend campaign.
 
Fill your hand you son of a bitch!
 
Matt and Frazer played 'There will be blood' in scene one the two protagonists resolve their disagreement by using the player cards as in blackjack.  Scenes two and three include all the gang members and the end of each scene resolves injuries and replacement gang members. 
 
The town is quiet, too quiet.

The crooked Sheriff John Stockburn and his two equally crooked deputies head into the saloon

Deputy Granger and Stockman Nathanial Reed disagree over a game of poker and take it to the street.

The gangs assemble and as on of the Deputies lines up a shot on Big Mac and his regulators Trixie steps from the shadows and fires her derringer at close range.  Always pay the whores what they are owed...!

Trixie's unmodified role - The upstanding (?) citizen card

It's scene three and Big Mac and his regulators have increased their gang by one and quickly gain the upper hand over Sheriff Stockburn and his men

Rufus Buck ends the final scene with both barrels of his shot gun and justice has been served.

A very one sided game where Frazer could do no wrong when it came to dice rolling.  The cards never really helped Matt and at the end of the first campaign turn the Lawmen were burying one man and had a few injuries to show for their trouble.  Frazer's cowboys didn't even get shot at in the final scene and their rep soared to 19 as the gang recruited and purchased guns and horses.

Sector 9 Raiders inbound

This week saw the return of the Dark Eldar as they continue their raiding along the fringe of the Ultima Segmentum.

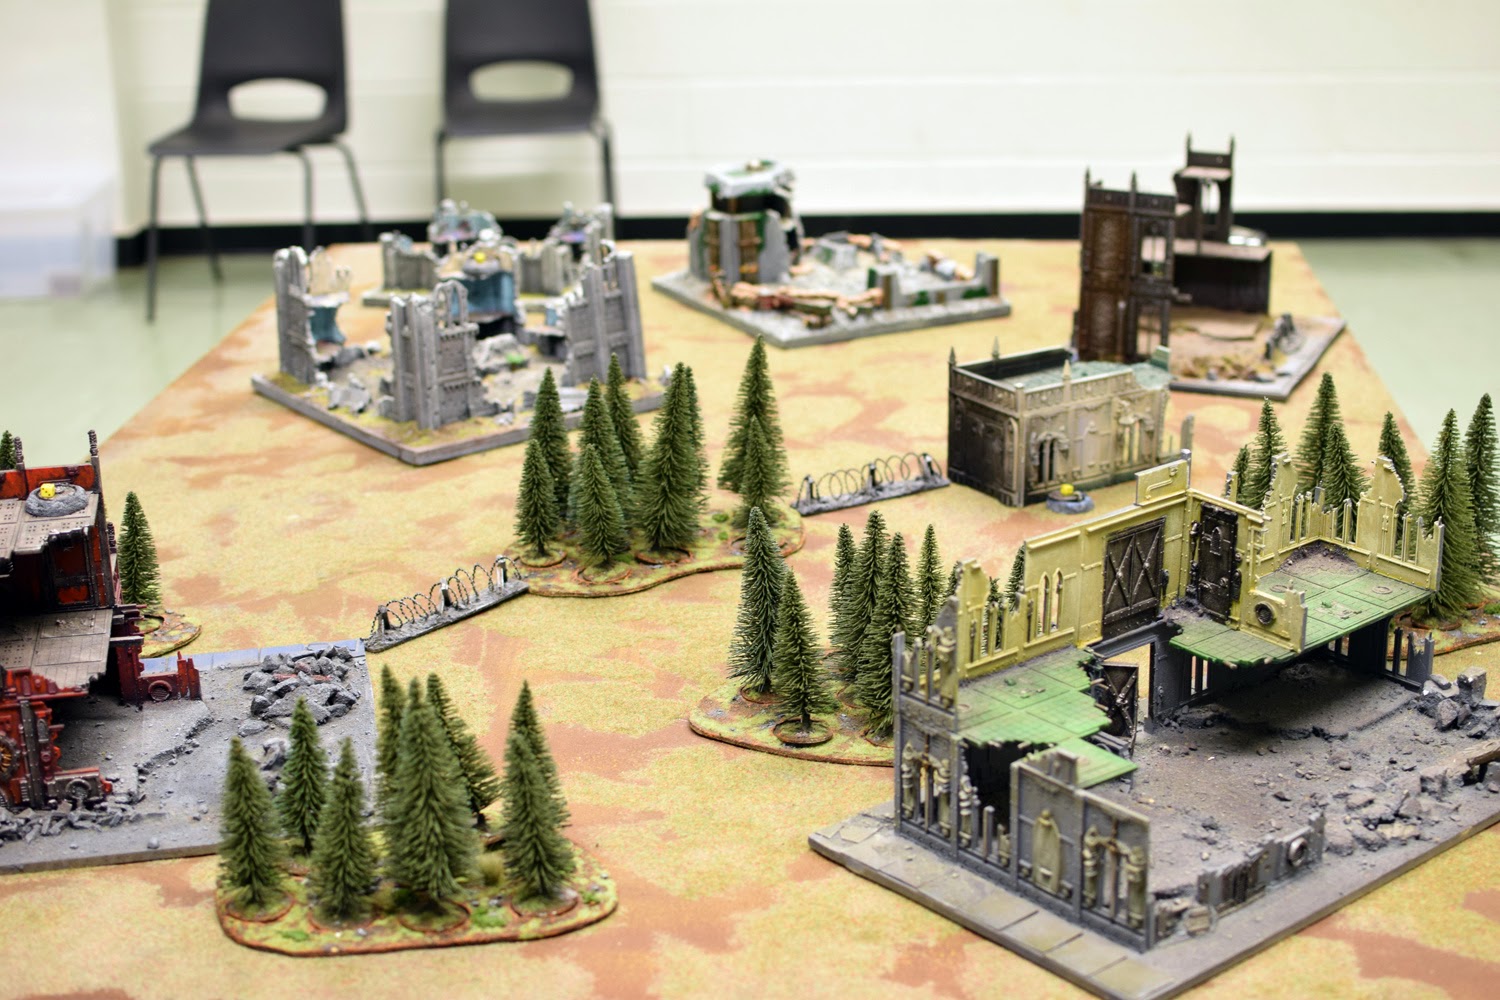
 Six objectives were scattered around the debris, with some being worth more than others.


All quiet in sector 9

Under direction of the Librarian Maxim

Both sides tentatively used their respective flanks to scout the field of battle, both wary of committing to the biggest scoring objective in the centre of a patch of open ground.

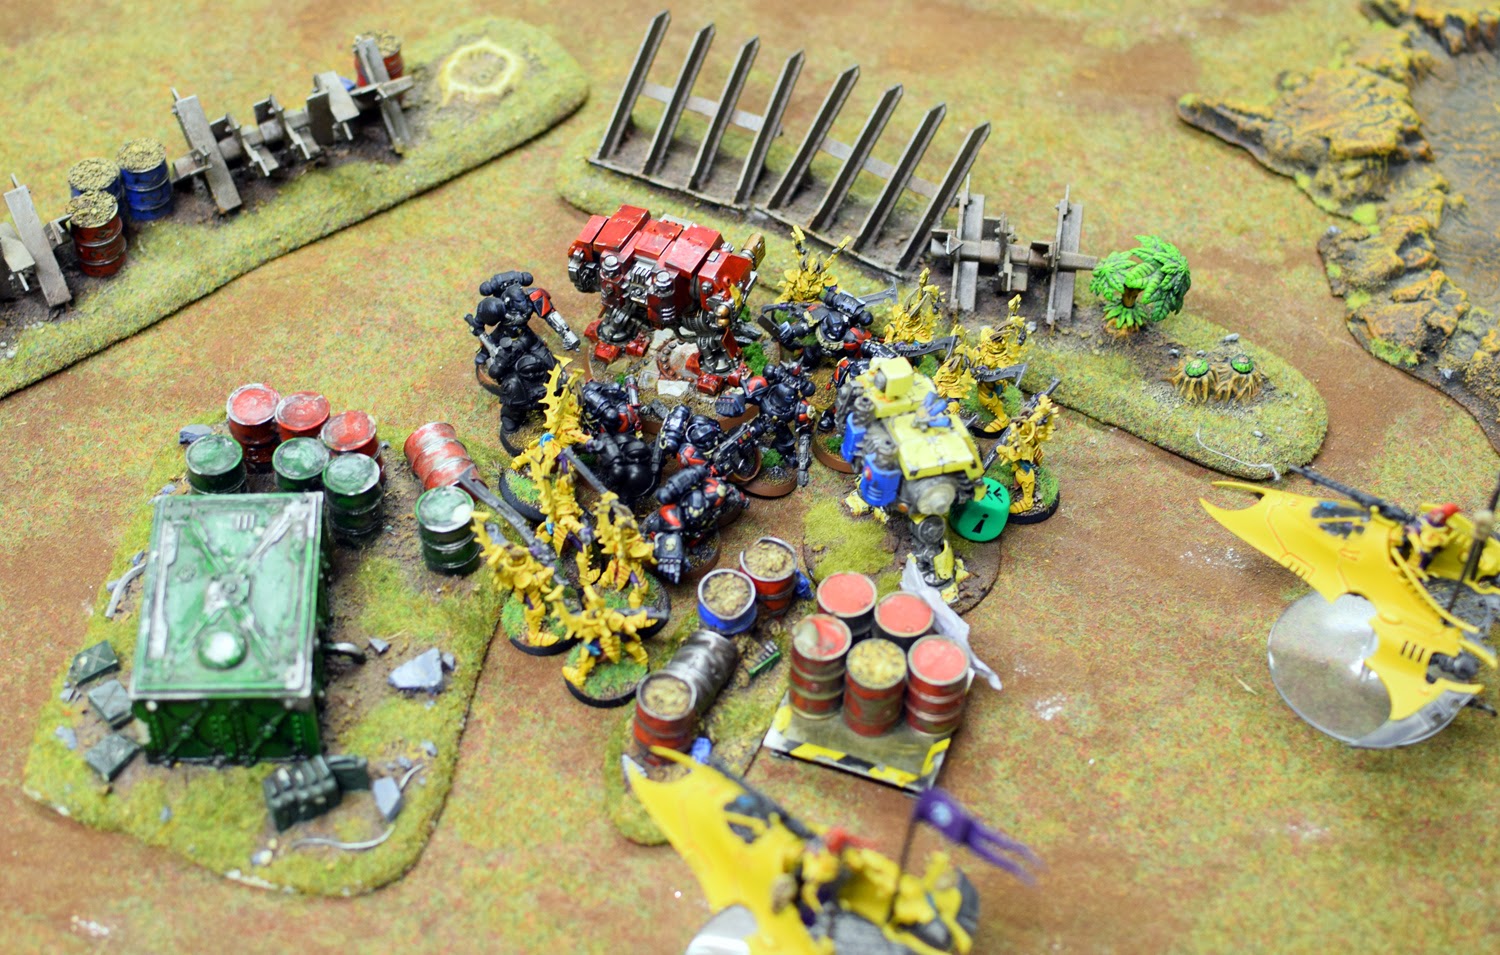
The two squads of Venom mounted incubi were interrupted by a drop pod  full of death company, but their fears were unfounded as after two rounds of combat, all the death company were dead, for the loss of one dark Eldar..

Sitting pretty, they were soon in trouble as a pincer attack from the incubi and Wracks wiped them out.


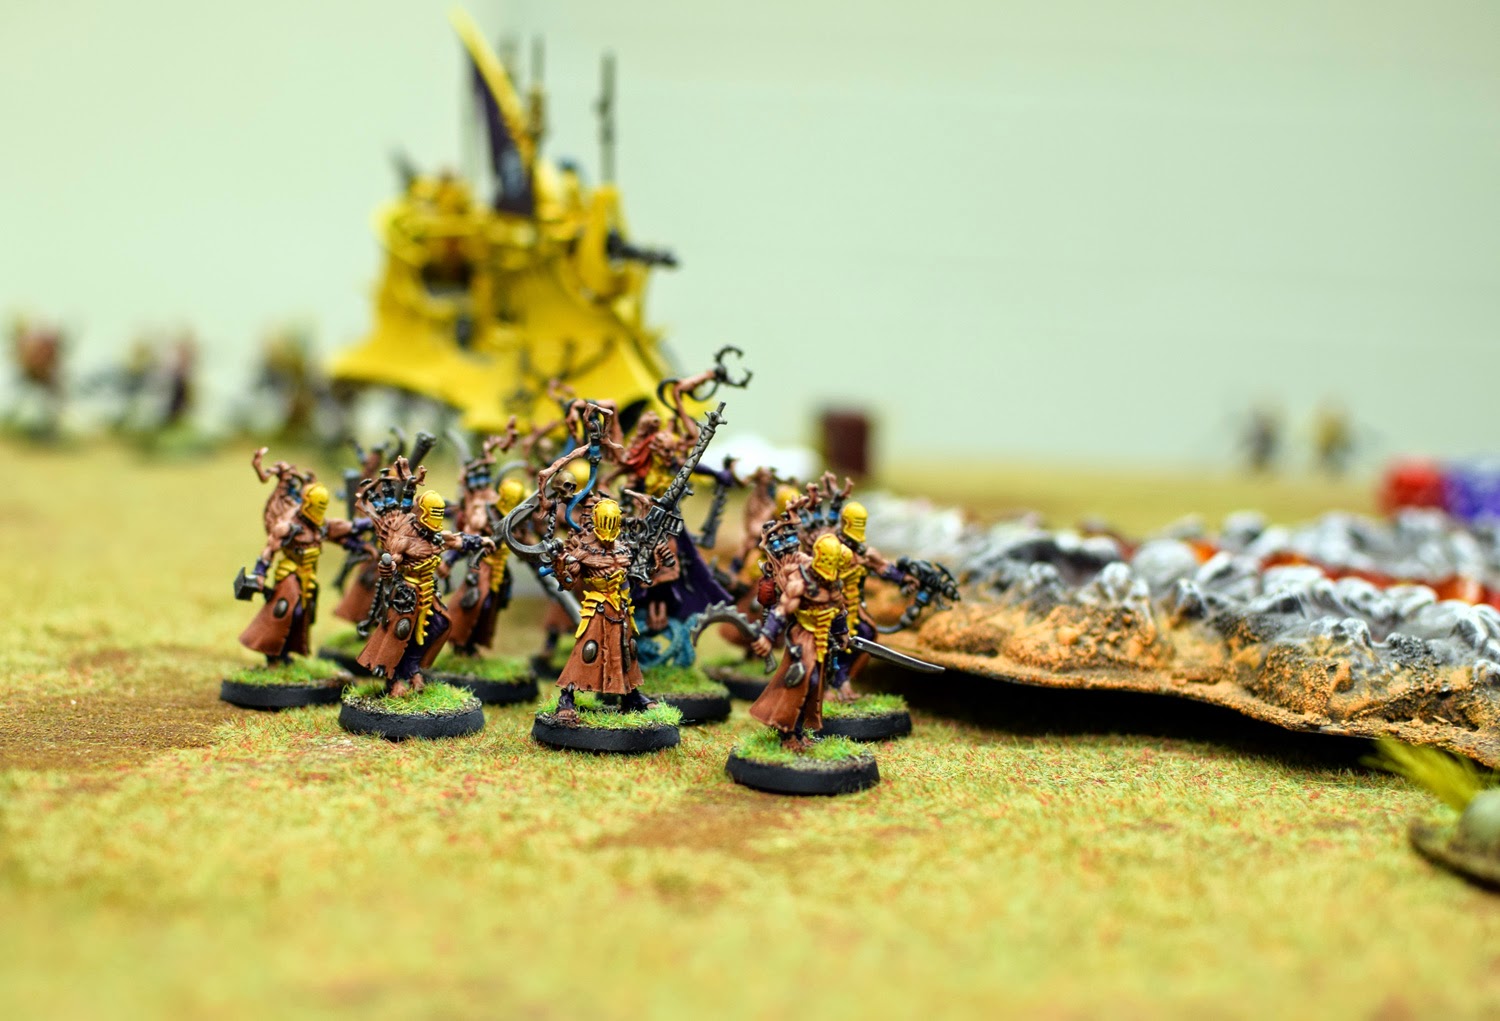
Naked weirdo's waiting for the next hover bus.  All the red men have left

The dark Eldar jet bikes went for the right flank but were met in force by the librarian and assault marines that had previously been taking shelter in the sand bagged region, and were wiped out.

With time running out (turn 5) the blood angels went for the major objective, taking out the Ravager as they went.

The final jet bike is crushed.

Too little too late the Blood Angels head of to find close combat.
 
With only the terminators left to grab any objectives, it was all over, as the dark Eldar swarmed all around mopping up their enemies.


Ere we go, Ere we go, Ere we go!

This week Neil and Si smashed heads as Orks and Space Wolves met head on in the inevitable short edge game.

Battlefield ready

Si check his adding up.  Always prepared!! 

The Orks spill forth shoulder to shoulder.

Lone Wolf Si shows the greenskins a clean pair of boots before he and his retinue are overwhelmed by numbers
More boyz on the way

The terminators get stuck in and do well in the first round of combat but the second round sees 56 dice for the orks v 9 for the wolves.  Everyone knows how this will end and it does

Everything is piled forward on both sides

Despite some significant losses and a good number of objectives held the Space Wolves casualties mount and the ork objective total creeps up


Whilst the battle still has some legs it's clear that the Orks have won.  The VP's are in their favour and so is the number of units still in action

Back to the drawing board for the Space Wolves.  40K - It's your own fault...


Friday, 7 November 2014

Wednesday War - Skirmish Sangin Patrols

Contact, enemy front! Wait, out.
 
Game night was very low attendance this week with only one game running.  Chris and I bought Skirmish Sangin when it was released but have only played a couple of games.  This is mostly due to the smorgasbord of games available to us on a weekly basis and having inappropriate terrain for Southern Central Asia.  As Matt bought some of the superb Empress miniatures in the form of Royal Marines we decided to have another game and introduce him to the lethal beauty that is Skirmish Sangin or SkiSa as we like to call it.
 
We played fast and loose with scenario just to get some of the game mechanics running. The mission was for 2 Troop, 2 Company, 40 Commando to patrol to a local compound and search for weapons and bomb making equipment.   For a change the intel was good and a local Taliban cadre were present including a high value target code name ‘Alan Akbar'


 Drone image capture confirm Taliban in and around the target building.


A stealthy approach is very difficult and due to delays the operation is under way early morning rather than middle of the night the result is the Taliban are ready and waiting for the Commandos
 
Troop leader Cpl Butters comes under fire from the main compound is seriously wounded.  Marine Hart applies first aid and drags him back to the Casevac point re-joining the troop some time later
 
The Taliban start to put fire down on the Royal Marines and a couple start to try and work round the flank.

L/Cpl Hamilton fires his Under slung Grenade Launcher (UCL) and the round lands directly in the compound.  Killing 3 immediately and seriously wounding two more.  The Taliban disengage.  The Marines go on to search the compound and recover weapons and Intel.  Mission success!
 
As you can see the first game was over very quickly.  This is a very lethal game.

Game Two
 
2 Troop are back in action again this time the mission is a meeting with village elders, they are providing security.  As Cpl Butter is wounded the troop is now led by Cpl Nutt


The time and place of the meeting is well known and local Taliban intend to ambush the Marine and Elders as the meeting breaks up.
 

Fighters move into their pre-planned positions
 
 The marines have good positions in the centre of the village


The Taliban open fire but the Marines are well trained and pass all morale tests and operate as expected


Marine Wheelwright comes under heavy fire from a PKM machine gun, he is unfortunately in poor position in the open.  After what seems like an age he manages to find hard cover behind a thick mud wall


Aseeb and Ashiq plan is to move into the building to fire on the marines from cover.  Marine Wetherill has been ordered to clear the building to allow the troop to extract from the village.  Neither knows they are about to contact


L/Cpl Read spots movement at the edge of a compound and moves to a better position to engage with his UGL.  Unaware that he is about to be outflanked.  However Ahmed isn’t used to his AKM and misses.
 
Ahmed doesn’t get another chance as Marine Hart opens fire from his position in the tower with the Minimi and kills him stone dead.
 
Marine Wetherill checks the building and spots enemy and opens fire but misses his shot.  He calls for support and Marine Benn arrives.  Unsure of whether there are friendlies in the building they opt not to grenade first.
 
As they enter both Aseeb and Ashiq fire but Marine Wetherill is saved by his armour. He shoots Aseeb dead.  Marine Benn is right behind Wetherill as they enter and smashes Ashiq in the face with his rifle knocking him to the ground dead.
 
Troop Leader Matt plans his next phase
 
Mission over.  Skirmish Sangin is a very deadly game and whilst it appeared one sided it was a much closer game.  When it came down to it Chris was unlucky with the dice result in a couple of places notably his very low rolls for damage.
 
Another operation soon, hopefully with both sides fully painted and the scenery complete
Chris looks to the devil for help with his dice